Introduction
When laser engraving images that are not binary black and white, you usually get a couple options. The first is to use relief engraving, which uses the grayscale version of the image to control the power of the laser. This creates nifty 3D contours of your image, but often the difference in "colors" is small. The image only becomes visible when looking at it at an angle, if at all. The second option is to use the built in
dithering. By using a pattern of dark or light dots, this ensures gives better control of how dark colors appear. However, the built in dithering is, in my opinion, pretty dumb. With the power of GIMP and a bunch of test engraves, we can do better.
 |
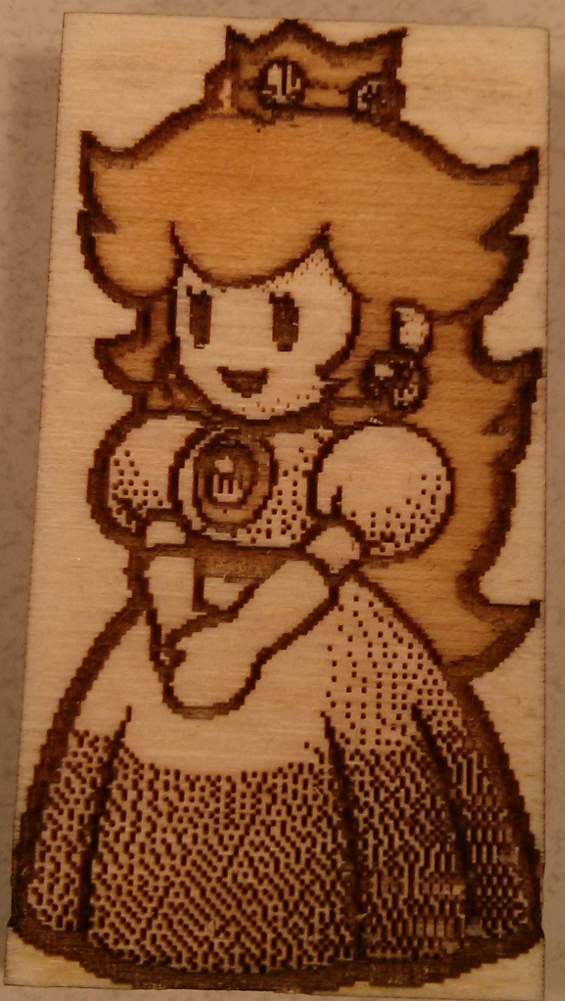
From source image to engraving! Source image by jtobijah.
The dots are slightly different because I lost the original processed image, and forgot the settings. |
Improving on vanilla dithering
The major improvements I worked out are:
- Using the actual colors of the engraved material when calculating dithering.
- Using a low DPI image, so the laser makes multiple passes per image pixel.
Each additional color added into the dithering algorithm vastly improves the range of shades represented by dithering and the quality of each shade. Since my method allows different "colors" to be etched at different speeds and powers, more colors can be squeezed out the material.
The Tutorial
Step 1
First, collect the tools. I used
GIMP for all my image processing. I'm sure you can find the equivalent commands in your program of choice.
Step 2
Next is to figure out what colors you can etch onto your material. The more distinct colors you can make, the better, giving the dithering more options. A good way I find is to etch a bunch of these gradients at various speeds and work from there.
 |
| Test gradient! |
For wood, etching makes things darker, but for acrylic, etching makes things lighter. Make a bunch of test cuts at different speeds and powers to see what colors you can get. I find slow cuts at low power create good darks on wood without etching too deep.
There is a problem, when you etch very dark colors the surrounding areas are scorched. While sanding off the scorches works, there are a couple exceptions. When you have standalone unetched pixels surrounded by light pixels, sanding tends to break them off. Or, if you're working with the cheapest craft plywood in existence you found in the scrap bin, any kind of sanding will quickly eat through the very thin veneer and reveal the glue below. What I did was use an low power at the highest speed to blast off a extremely thin layer off the top without any significant darkening.
Make sure you write down what laser settings you used for each power. As learned from experience, don't trust yourself to remember it.
Once the colors have been determined fire up GIMP to enter the colors into a custom palette. To do this first open up the palette window by clicking Windows -> Dockable Dialogs -> Palettes.
 |
| Palette window on the left, new palette on the right, with dark etch, light etch, and unetched material color. |
Do not forget the color of the unetched or "laser sanded" material as well. Try to match the colors as close as possible.
Step 3
 |
| The classic test image. |
Open up your image of choice. First we lower the source image's dots/pixels per inch (hereby referred to as DPI) to match that of the laser. I find 100 DPI is the highest resolution I can go before single pixels start failing to form. Make sure your image still fits on your material after changing the DPI. In GIMP you can do this through Image -> Scale Image.
 |
| It also helps to change image size to inches/mm to get a good idea of its real size at this low DPI. |
Then comes the magic. Change the color mode from RGB or whatever it started as to indexed. Do this by Image -> Mode -> Indexed. The dialog below will come up. Choose the palette you created in Step 2, and pick a good dithering mode. The Floyd-Steinberg flavors creates dithering without (intentional) patterns while Positioned does. This converts your image to use only the colors in your palette, which in turn are all the colors your laser can recreate. If the output is too much of one shade, try tweaking the brightness and contrast before converting your image to indexed mode.
 |
| Converting to indexed. If you get big blotches of color, you either forgot to turn on dithering or actually have big blotches of color in your source image. |
 |
| Since the material colors are input into GIMP, this is what the engraved material will actually look like. |
When the image looks good, the next step is to convert it into an image with colors the laser software can use to define different layers (like solid red, green, blue, etc). To do this first convert the image back to RGB by Image -> Mode -> RGB. Then use the select by color tool to select a color, making sure the threshold is zero and no feathering or antialiasing nonsense is turned on, and set it to the laser software friendly color by using the fill tool set to fill the entire selection. It will look a litte funny.
 |
| Don't worry, the laser will know what's going on. |
Finally increase the resolution to some multiple of what it was (here it was 100 DPI), so the laser makes multiple passes per pixel. I used 400. So, through the same image scaling dialog as before, first change the pixels per inch to 400, then change the image size to the same physical dimensions as before. This means multiplying its width and height by 4. Make sure you set interpolation to none or all your colors are going to be messed up.
Step 4
Unfortunately, I have no pictures of the laser setup because I don't have a laser anymore. I just have to believe in you, the reader, to get it right, eventually.
Set your laser cutting speeds. Based on the colors you used in your source image, set the laser speeds and powers corresponding to that color. So if you set the dark engrave to red in your image, set red to make the dark engrave in your laser program. Import the image into your laser cutter software and do whatever tweaks you need (adding a cut line, etc). Print your image, making sure the DPI setting on the laser is the same as your source image (here I used 400). Enjoy the wait.
Gallery
 |
It even works on pictures. Source image by CopyX.
The dots are slightly different because I lost the original processed image, and forgot the settings. |
 |
| Paper Mario sprite. |
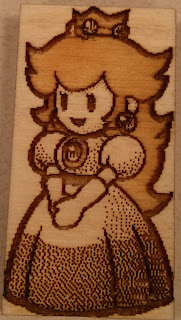 |
| Another Paper Mario sprite. |
 |
| Marceline from Adventure Time. The chipping at the bottom can happen when you try to sand cheap craft plywood. |
 |
| Somewhat irrelevant, but you can also laser engrave mashed potatoes. |